
Quick Answer
To tell if a used car has been in an accident, look for mismatched paint, uneven panel gaps, overspray on trim, disturbed bolts, and replaced glass or lights with different date codes. Check the underbody and engine bay for rippled metal, non-factory welds, or bent frame rails, and watch how the car tracks and brakes during a test drive. Verify the history with a VIN report, but don’t rely on it alone—many minor crashes aren’t reported. When in doubt, get a professional pre-purchase inspection with paint thickness measurements and a full-system scan for airbag, ABS, and body control modules, plus checks for ADAS sensor alignment where equipped.
Why Accident History Matters
Accident repairs range from a simple bumper repaint to structural damage that affects safety and resale value. Poorly repaired vehicles can have compromised crumple zones, misaligned suspension, water leaks, sensor miscalibrations, and persistent warning light issues. Even well-repaired damage can reduce a car’s value; understanding the severity helps you decide whether to negotiate or walk away and prevents surprises with insurance, financing, or future trade-in.
Exterior Clues That Point to Past Damage
Paint mismatch and texture
Walk around the car in bright, indirect light. Panels should match in color and gloss. A repainted panel may look slightly darker or lighter, show different metallic flake orientation, or have a different texture (orange peel). Check reflections: a wavy reflection can indicate excessive filler or subpar prep work. Compare left vs. right sides and adjacent panels; factory paint is consistent panel to panel.
Overspray and tape lines
Look along rubber window seals, plastic trim edges, wheel well liners, inside door jambs, and the underside of hood and trunk lids. Paint on rubber or plastic, or a faint line where masking tape once sat, strongly suggests repainting. Factory paint virtually never leaves overspray on adjacent parts.
Panel gaps and alignment
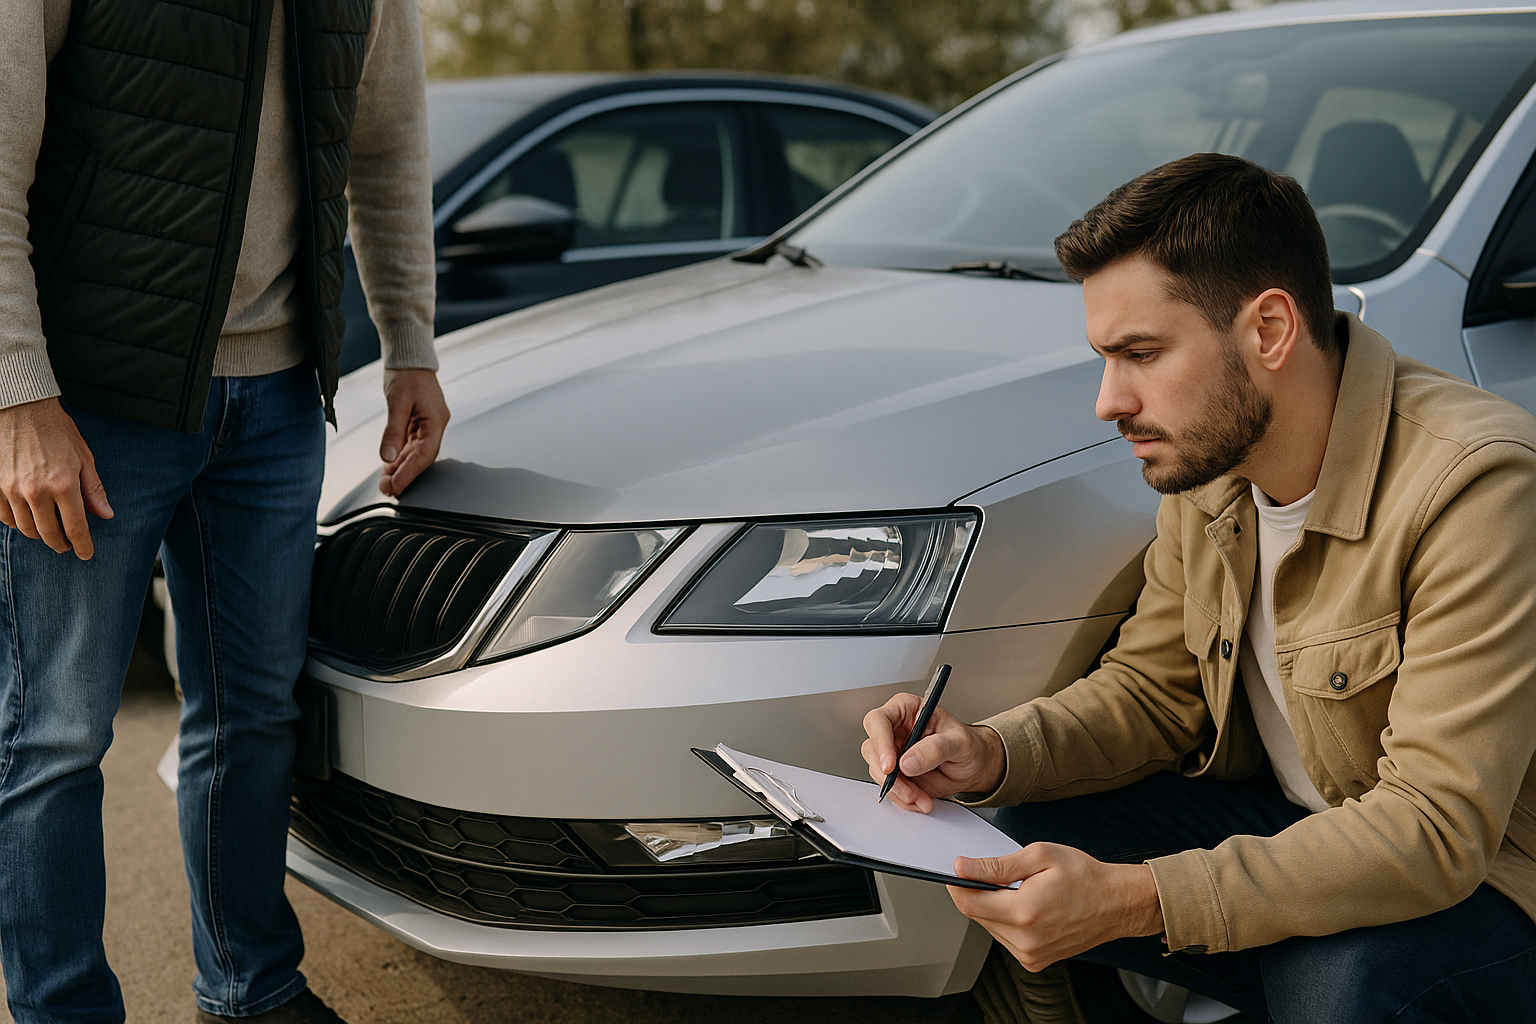
Gaps should be even side to side. Inconsistent spacing around doors, hood, trunk, fuel door, and headlights often points to panel replacement or adjustment after a collision. Open and close every door and the trunk: binding, scraping, or a door that pops upward when unlatched can indicate twisted hinges or a bent body structure. Look at hood and trunk height relative to fenders and quarters—proud or sunken edges suggest alignment issues beneath the surface.
Fasteners and stickers
Under the hood and in door jambs, examine bolt heads for fenders, hood, latch, hinges, and radiator support brackets. Factory bolts often have paint or sealer; disturbed paint, tool marks, missing sealer, or misaligned washers indicate parts were removed. Many cars have VIN or part ID stickers on panels; missing, painted-over, or mismatched labels can point to replacements.
Glass, Lights, and Trim Details
Glass date codes and brands
Each window typically has an etched logo and date code. While single replacements happen for chips, multiple pieces with different brands or dates than the rest of the car—especially a windshield plus side glass on one corner—suggest impact. Mismatched tint levels or distortion along edges can also indicate non-OEM replacements. On newer cars, check that the windshield camera bracket (if present) looks original and that lane-keeping and automatic high-beam features work—ADAS systems require precise glass and calibration.
Headlight and taillight mounting
Factory lights sit flush and use original clips and screws. Check for broken tabs, aftermarket housings on one side only, misaligned beams, or gaps to the bumper. Inspect the radiator support and headlight brackets: uneven paint, non-factory rivets, fresh seam sealer, or drill holes are signs of front-end repair. Note DOT date codes—one new lamp can be normal; mismatched pairs point to collision.
Bumper covers and grilles
Run your hand under the bumper edges. Loose clips, missing push pins, or different fastener types side to side often follow collision repair. Grilles and fog light surrounds should sit square and match in finish. Freshly painted front bumpers with lots of rock chips on the hood can indicate recent cosmetic cover-up. If the vehicle has a front radar behind the grille or emblem, make sure the cover isn’t cracked or misaligned.
Under the Hood: Structure and Support Areas
Look at rails, aprons, and seams
Use a flashlight to inspect the upper strut towers, front rails, inner fenders (aprons), and radiator support. Factory welds are uniform spot-welds; uneven seam sealer, grinder marks, weld spatter, or continuous weld beads can indicate repairs. Ripples, buckles, or stress marks in the metal near bolt holes show past crumpling. “Mushroomed” strut tower tops or cracked tower paint suggest impact to the suspension.
Hardware and paint consistency
Compare paint shades across the engine bay. New paint on just one rail or a fresh-looking radiator support next to older components is suspicious. Check that the hood latch and secondary catch line up and that the hood closes smoothly without slamming. Look for replaced cooling components on one side only (condenser, fan shroud) paired with disturbed fasteners.
Underbody and Frame Red Flags
Frame and subframe condition
If safe and permitted, look under the car. Check front and rear subframes, rocker pinch welds, trunk floor, spare tire well, and suspension mounting points. Bends, kinks, fresh undercoating only in specific areas, weld grind marks, or crushed jack points can indicate past impacts or improper lifting. On unibody cars, buckling around floor pans, tunnel seams, or rear body panels is a warning sign. Watch for new underbody shields or splash guards on one side only.
Suspension and steering
Look for new suspension parts on one corner—control arms, knuckles, tie rods, sway bar links—or fresh alignment shims. While part replacement is normal, an obvious mismatch can signal collision repair. Check for eccentric bolts recently adjusted, bent steering arms, leaking struts, or torn bushings on one side. Subframe alignment holes should be clean and symmetrical; ovalized or freshly scraped holes suggest a shifted subframe.
Exhaust and shields
Dented exhaust pipes, bent heat shields, or a fresh catalytic converter on just one side can accompany underbody hits. Check for rattles on a test drive that change with bumps, which may point to bent hangers or disturbed brackets.
Interior and Airbag Clues
Airbag system behavior
When you turn the key to ON, the airbag (SRS) light should illuminate briefly and then go out. If it stays on, flickers, or never comes on at all, there may be a fault or a tampered bulb. Look for non-matching stitching or texture on the steering wheel center, dashboard passenger airbag cover, knee bolster, or A-pillar trim—signs of deployment and replacement. A full-system scan can reveal crash data or deployed component history.
Seat belts and trim
Check belts for fraying, melted webbing, or replaced buckles. Seat belt pretensioners deploy in crashes; a stuck, overly tight, or inconsistent retraction can be a clue. Loose headliner edges, missing clips, or mismatched interior panels often follow airbag or body work. Lift floor mats and check carpet edges for moisture or body seam repairs.
Water leaks and wind noise
After structural repair, doors and windows may not seal perfectly. Look for damp carpets, water staining, mildew smell, or excessive wind noise around one door at highway speeds. Those symptoms point to misalignment from past damage or poor refitting of weatherstrips.
Wheels, Tires, and Alignment Tell a Story
Tire wear patterns
Uneven tire wear—feathering, inner/outer edge wear, or cupping—suggests poor alignment that can stem from bent suspension or a twisted body. Matching brands and similar date codes on all four tires indicate even maintenance; one or two new tires on the same axle can hide alignment issues. Don’t overlook the spare—damage in the trunk area often leaves it scuffed or replaced.
Steering and braking behavior
On a straight, flat road, the car should track straight with a centered wheel. Pulling under acceleration or braking, a crooked steering wheel, or constant correction points to alignment or structural problems. Vibrations at specific speeds can come from bent wheels after curb hits; look closely for flat spots, cracks, or fresh refinishing on one wheel.
Records and Reports: What They Do and Don’t Show
Vehicle history reports
Run the VIN through multiple sources such as Carfax, AutoCheck, and the National Motor Vehicle Title Information System (NMVTIS). Look for title brands (salvage, rebuilt, flood), airbag deployments, police reports, and insurer claims. Understand the limits: many body shop repairs and minor accidents aren’t reported, especially if paid out-of-pocket. Use the report to corroborate what you see, not to replace an inspection.
Service and repair documentation
Ask for body shop invoices, alignment printouts, calibration certificates for ADAS sensors, and parts receipts. Dealer service histories may list collision-related repairs. Photos of the damage and repair process are valuable—quality shops often document their work, including paint codes and blend panels.
Ownership patterns
Frequent ownership changes, sudden mileage jumps, or a long gap in records around a given year can be a clue. A branded title or out-of-state retitle shortly after an incident date requires careful scrutiny. Verify that the VIN tags on body panels and the dash plate match the title and report.
Simple Tools That Boost Your Inspection
Paint thickness gauge
A digital gauge can identify repainted or filled areas. Typical factory paint thickness is roughly 3–5 mils (75–125 microns) on steel panels, sometimes slightly thinner on aluminum. Readings above about 7–12 mils (175–300 microns) suggest repaint; very high or inconsistent readings across a panel can indicate body filler. Materials vary—compare readings panel to panel and side to side.
Magnet test (with caveats)
A weak or non-sticking magnet can find thick filler on steel, but it will also not stick to aluminum or plastic panels used on many modern cars. Verify the panel’s material before drawing conclusions, and use the magnet only as a quick screening tool.
OBD scan beyond the engine
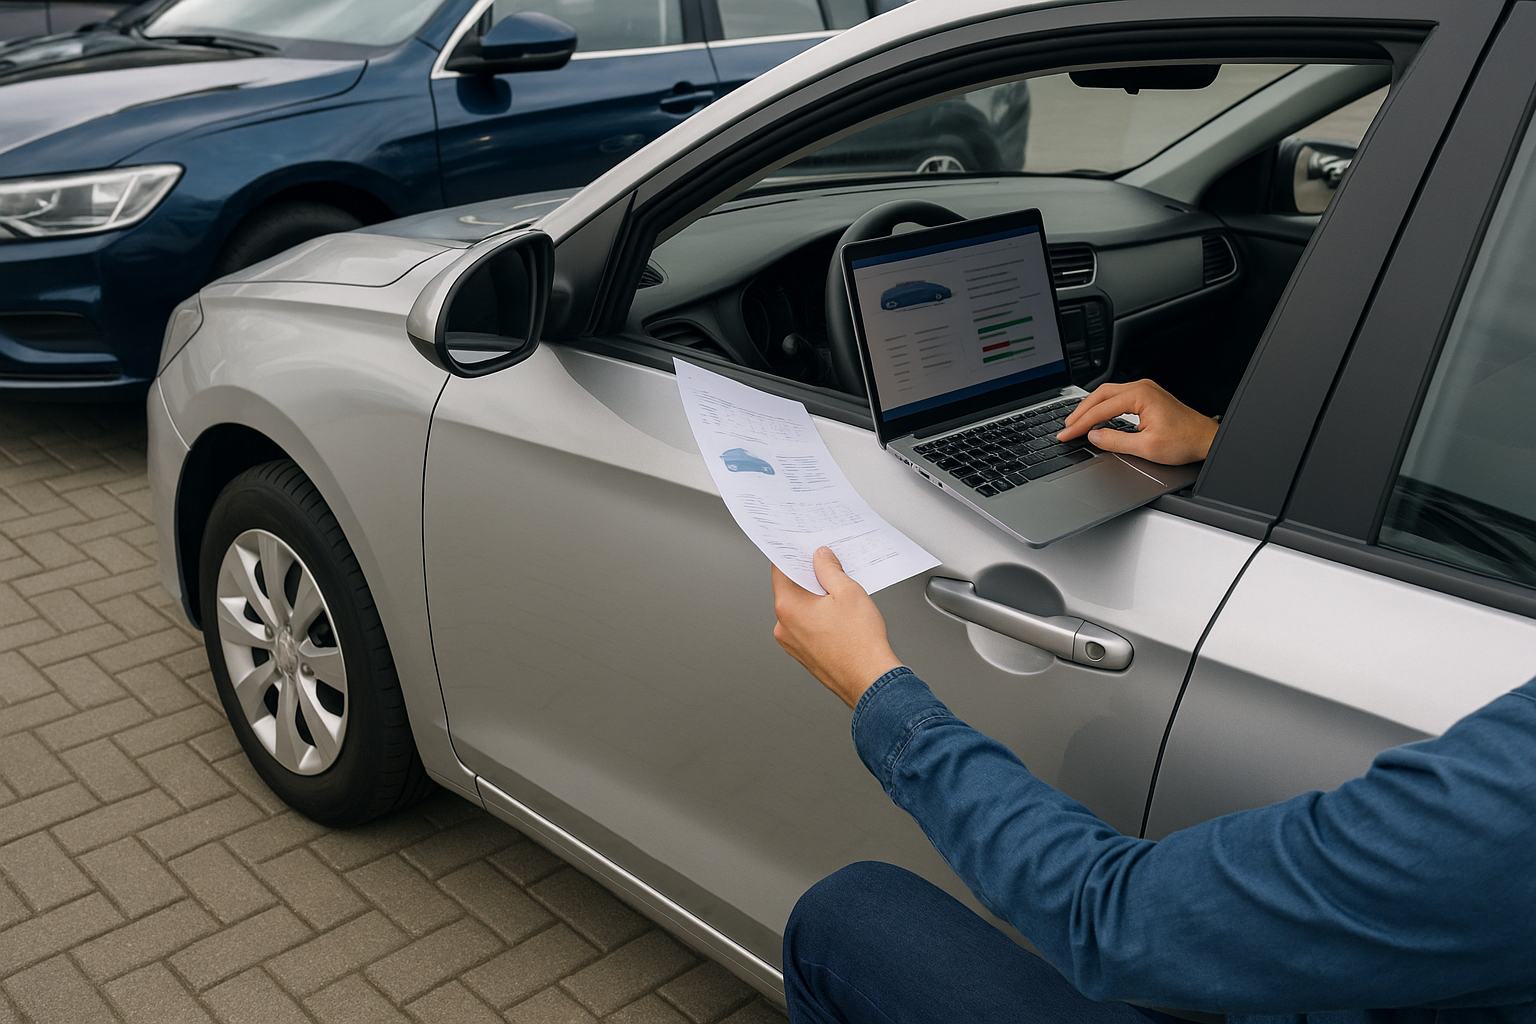
Many consumer scanners read only engine codes. A shop-grade scan can check the SRS (airbags), ABS, and body control modules for crash data, open circuit faults, and deployed component history. This is especially useful when dash light behavior is suspicious or when verifying that post-repair calibrations were completed.
Light and mirror
Bring a bright flashlight and a small inspection mirror to check inside bumper covers, behind headlights, and along inner seams that are hard to view head-on. A small ruler or feeler gauge helps compare panel gaps side to side.
Road Test Checklist
Cold start and idle
Listen for rattles from the front or rear that could signal loose brackets or supports replaced during a repair. Note any warning lights at startup, especially SRS, ABS, or stability control. Confirm that all exterior lights, turn signals, and parking sensors function.
Low-speed maneuvers
Turn the wheel lock-to-lock in a parking lot. Groans, pops, or clunks can indicate stressed suspension components after an impact. Check for rubbing noises from misaligned liners or bumper edges. Perform tight figure-eights to feel for bind or steering return-to-center issues.
Highway behavior
At speed, note steering stability, wind noise differences left vs. right, and any vibration that varies with speed. Apply the brakes smoothly at 50–60 mph; pulling or chatter may reflect warped components or alignment left unresolved after a collision. If equipped, test adaptive cruise, lane-keeping, and automatic emergency braking in a safe, legal manner—faults after bodywork often stem from miscalibrated sensors.
When Damage Is Acceptable vs. When to Walk Away
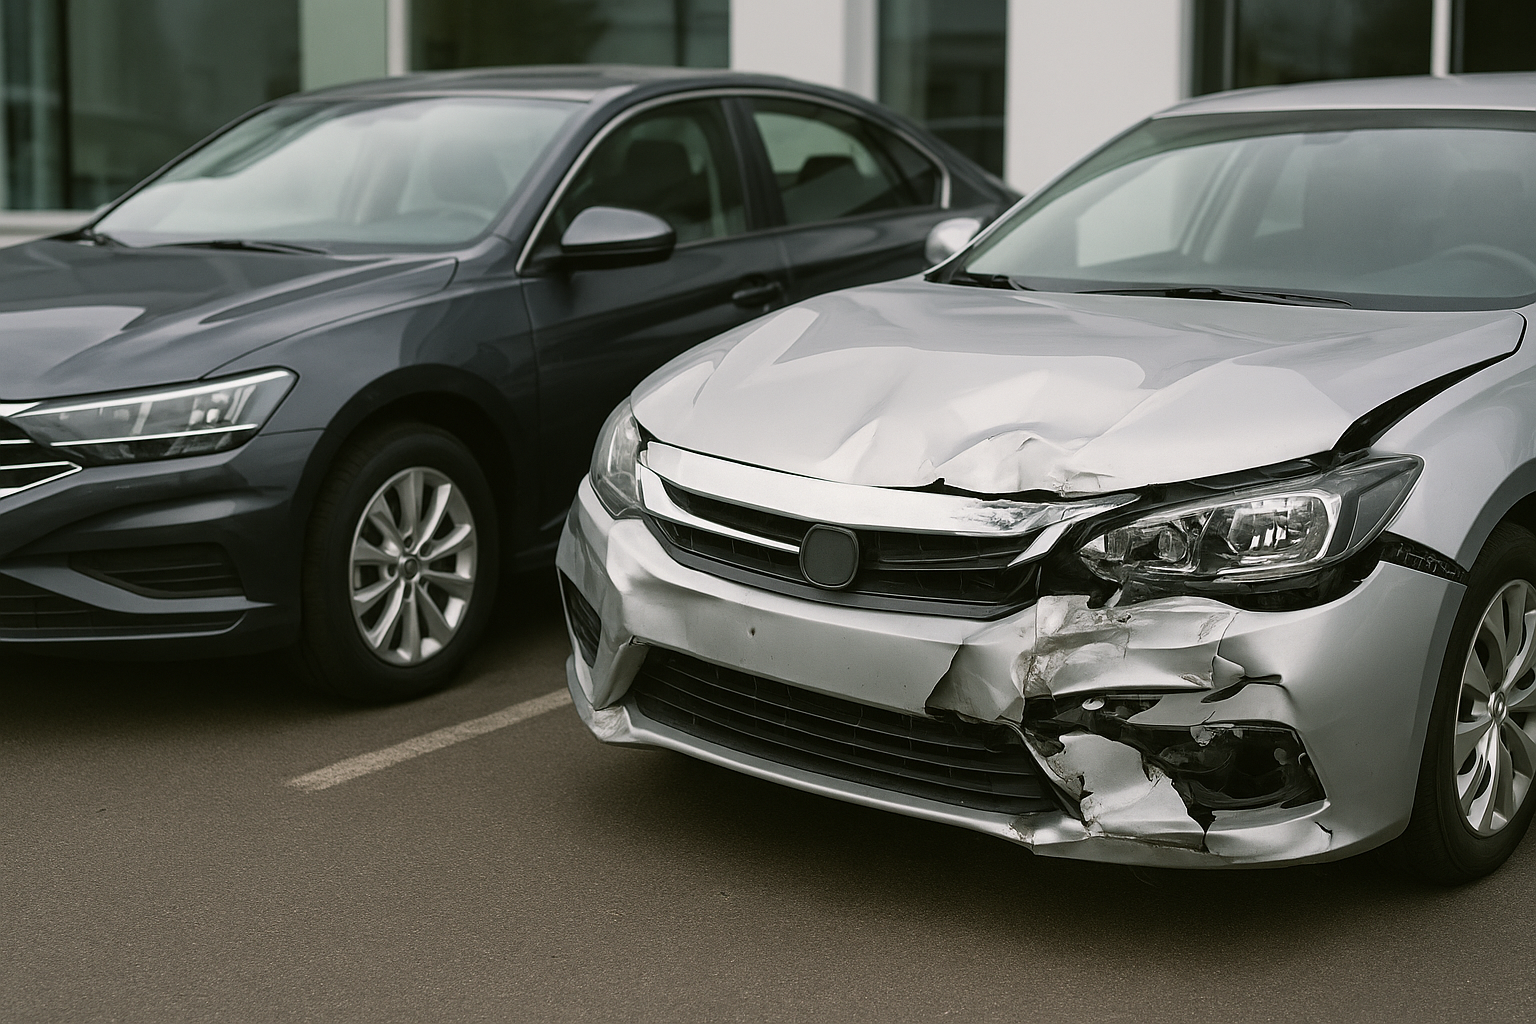
Not all accident history is equal. A professionally repainted bumper cover with documentation is usually minor. Structural damage, airbag deployment without documented OEM-quality repair, or frame rail replacement can compromise safety and long-term value. Corrosion creeping from fresh seams, chronic alignment problems, and recurring sensor faults are signs to move on.
| Type of Finding | What It Likely Means | Typical Buyer Response |
|---|---|---|
| Repainted plastic bumper cover, no panel misalignment | Cosmetic repair for scuffs/minor hit | Generally acceptable; minor price negotiation |
| One fender replaced with even gaps and verified alignment | Moderate cosmetic/bolt-on repair | Acceptable if documented; negotiate for diminished value |
| Multiple panels repainted on one corner, replaced headlight, slight overspray | Corner impact with bodywork | Get professional inspection; larger discount expected |
| Evidence of rail or apron repair, non-factory welds or sealer | Structural damage | High risk; often best to walk away |
| Airbag deployed with unclear parts provenance | Major accident, safety systems affected | Proceed only with full documentation and expert sign-off |
| Persistent alignment pull, uneven tire wear | Underlying structural or suspension issues | Budget for repairs or avoid the vehicle |
| Salvage/rebuilt title | Significant prior damage, repaired | Insurance/financing hurdles; buy only with deep discount and thorough inspection |
Pricing and Negotiation Tips
If the car shows credible signs of past damage but drives well and checks out structurally, negotiate for diminished value. As a rough guide, a quality cosmetic repair might justify a 5–10% reduction, corner bodywork 10–20%, and any structural or airbag-related history can push reductions well beyond 20% or justify walking away. Use concrete findings—paint gauge readings, photos of overspray, alignment and calibration printouts, or shop estimates—to support your offer. If the seller can’t provide repair invoices for major items, treat the uncertainty as risk in your price.
Get a Professional Opinion
A pre-purchase inspection (PPI) by an independent shop typically costs $150–$300 and is money well spent. Ask for a lift inspection, paint thickness measurements, suspension and steering checks, a full-system scan that includes SRS/ABS, and alignment verification. For borderline cases, a frame measurement on a bench or laser system can confirm whether the unibody is square. Prefer shops with I-CAR Gold Class or OEM collision certifications. If the seller refuses an inspection, consider it a red flag.
Step-by-Step Inspection Workflow
- Start with records: run multiple VIN reports and ask for repair invoices, calibration certificates, and photos.
- Exterior walkaround: check for paint mismatch, overspray, and even panel gaps; open/close all doors, hood, and trunk.
- Lights and glass: verify brand/date codes match side to side; inspect headlight mounts, radiator support, and grille/radar areas.
- Under the hood: examine rails, strut towers, seams, and bolt heads for disturbances.
- Underbody: look for buckling, fresh undercoat patches, bent subframes, or crushed pinch welds.
- Interior: test SRS light behavior; inspect seat belts, airbag covers, headliner, and trim fitment.
- Wheels/tires: check wear patterns and wheel condition; note mismatched components on one corner.
- Test drive: verify straight tracking, centered wheel, no unusual noises, and consistent braking; test ADAS if equipped.
- Tools: use a paint thickness gauge on multiple panels; consider a professional scan for SRS/ABS and sensor calibrations.
- Decide: weigh findings against price and safety; negotiate or walk away as needed.
Common Mistakes to Avoid
Don’t rely solely on a clean history report—unreported accidents are common. Don’t overlook the underbody; many buyers never look underneath, where the most telling evidence hides. Don’t confuse a non-magnetic panel with filler without confirming aluminum or plastic. Don’t assume fresh undercoating equals rust-proofing—it often hides repairs. And don’t skip the test drive on varied roads; many structural issues only show up at speed or under braking.
Bottom Line
A careful visual inspection, smart use of simple tools, a thorough road test, and verification through records will catch most collision repairs. The goal isn’t to eliminate every car with a repaint; it’s to distinguish acceptable cosmetic work from damage that compromises safety or long-term ownership costs. When unsure, involve a qualified inspector and be prepared to walk away—there are always other cars.
Frequently Asked Questions
Can a clean Carfax or AutoCheck still mean the car was in an accident?
Yes. History reports pull from insurance claims, police records, and participating shops, but not every repair is reported. Minor collisions paid out-of-pocket or fixed by independent shops may never appear. Treat a clean report as a starting point, not definitive proof.
What paint thickness readings confirm a repaint?
Factory paint on steel panels is typically about 3–5 mils (75–125 microns). Consistent readings above roughly 7–12 mils (175–300 microns) suggest repaint, and very high or wildly inconsistent readings can indicate body filler. Compare left vs. right sides and adjacent panels; material and model differences apply.
Is airbag deployment an automatic deal-breaker?
Not necessarily, but it raises the bar for documentation and quality. If airbags deployed, insist on invoices proving OEM or equivalent parts, proper module resets, and a clean SRS scan. Poor airbag repairs are serious safety risks; if documentation is lacking, walk away.
How can I tell if frame or unibody damage was repaired?
Look for non-factory welds, irregular seam sealer, rippled metal near rails and towers, and uneven gaps. Persistent alignment issues despite new tires and recent alignments are another clue. A professional can confirm with frame measurements on a bench or laser system.
What about mismatched tires or wheels on one side?
One or two new tires can be normal, but mismatched tires or a replaced wheel on the same corner as other clues (new suspension parts, fresh paint) may point to an impact. Check alignment, drive behavior, and inspect the suspension on that side closely.
Are minor bumper repairs a concern?
Plastic bumpers are commonly repainted or replaced due to parking scuffs. If gaps are even, sensors and lights function correctly, and there’s no sign of structural damage behind the cover, it’s usually cosmetic. Use it for price negotiation but don’t overweigh it.
How much should I budget for a pre-purchase inspection?
Expect $150–$300 for a thorough inspection at an independent shop. If the car shows signs of structural repairs, consider additional costs for a full alignment check and frame measurement. The small upfront expense can save you from far larger repair bills later.