
Quick Answer
Inspect a used car by verifying the title and history, walking the exterior for accident signs or rust, checking fluids and under-hood components, testing every electronic feature, and taking a thorough test drive starting from a true cold start. Scan for diagnostic codes, review maintenance records, and finish with an independent pre-purchase inspection before negotiating price or signing paperwork.
What to Bring and How to Prepare
Essential tools and info
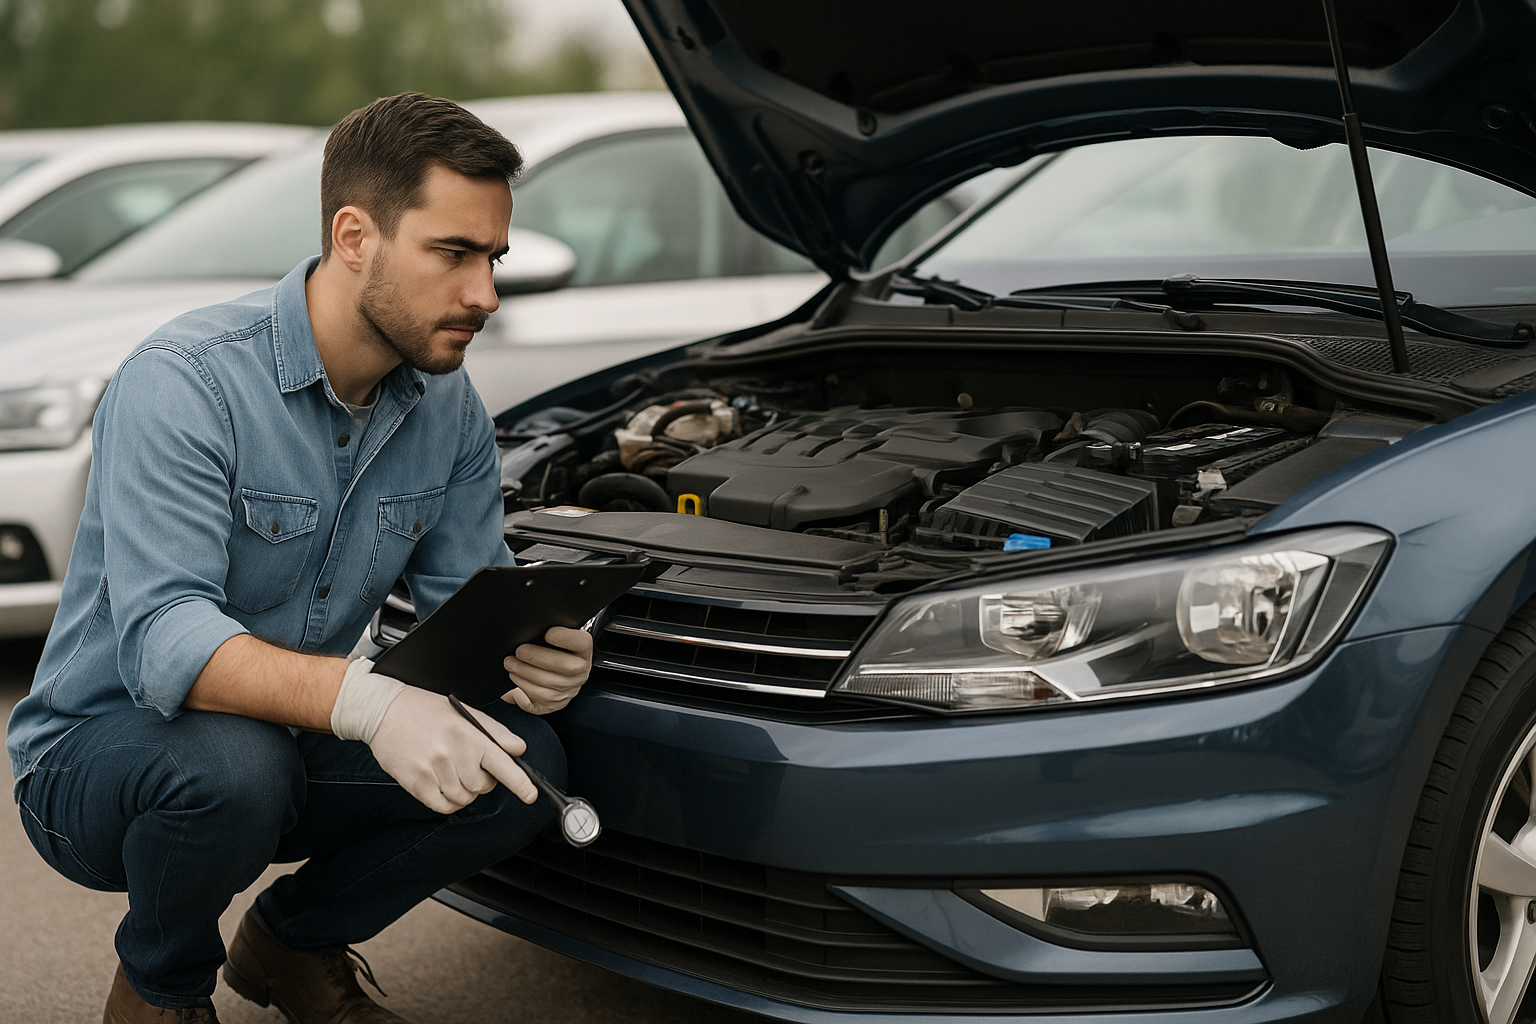
Show up prepared so you’re evaluating, not guessing. Bring a bright flashlight, paper towels, a small magnet wrapped in a microfiber cloth (to check for body filler without scratching), an OBD-II scanner or Bluetooth dongle, a tire tread-depth gauge (or a coin in a pinch), a compact mirror, nitrile gloves, and your phone for photos and VIN checks. A flattened cardboard box helps you slide under the edges without getting dirty. If you have a basic multimeter, pack it. This is your practical used car inspection checklist—having it on hand keeps the visit efficient.
Run a vehicle history check
Record the full 17-digit VIN and run it through a trusted source (Carfax, AutoCheck, or a NMVTIS provider). Review title brands (salvage, rebuilt, flood), odometer readings that progress logically, airbag deployment or accident reports, registrations in flood-prone regions, and frequent auction activity. Cross-check open recalls on NHTSA’s lookup tool. A clean report isn’t a guarantee, but any discrepancy or missing data is a reason to slow down, ask questions, and verify with documentation.
Exterior and Bodywork Inspection
Body panels and paint
Walk the car in bright, even daylight and step back at several angles. Panel gaps should be even left-to-right and front-to-back; doors, hood, and trunk should sit flush and open/close without rubbing. Look for paint overspray on rubber seals, tape lines inside door jambs, fresh seam sealer, or a texture mismatch (heavy “orange peel” next to smooth areas) that suggests repainting. Check for wrench marks or chipped paint on hood and fender bolts—signs they’ve been removed. Lightly use your magnet on lower doors, quarter panels, and rocker panels; weak or no attraction can indicate body filler under paint. Inspect common rust areas: wheel arches, rocker panels, door bottoms, windshield frame, trunk spare-tire well, front and rear subframe mounts, and front strut towers. Bubbles under paint signal corrosion from the inside out.
Glass, lights, and trim
Factory glass often carries matching OEM logos and date codes; random mismatched glass can follow an accident. Inspect the windshield for chips, star cracks, or long cracks—especially near the edges and wiper arcs. Cloudy headlight lenses reduce visibility; restoration helps, but cracked or internally hazed lenses usually need replacement. Confirm every light works and is firmly mounted; moisture inside lenses points to cracks or bad seals. Check bumper alignment, splash shields, and undertrays—missing or dangling pieces can hide prior damage or cause future issues.
Tires and wheels
Measure tread depth at the inner, center, and outer edges of each tire. Even wear is the goal; inner-edge wear suggests poor alignment or bent suspension, while cupping indicates worn shocks or struts. Read the DOT date code on each sidewall; the last four digits are week and year (e.g., 2319 = week 23 of 2019). Tires older than six years should be budgeted for replacement regardless of tread. Mismatched brands or sizes front-to-rear can indicate corner-cutting or alignment problems. Inspect wheels for bends, cracks, and heavy curb rash. Don’t forget to check the spare, jack, and lug wrench if equipped.
| Check | Normal | Red Flag |
|---|---|---|
| Panel gaps | Even and consistent | Uneven, rubbing, or misaligned |
| Paint | Uniform color/texture | Overspray, tape lines, texture mismatch |
| Rust | Minor surface rust on hardware | Blistering paint, soft metal, holes |
| Tire wear | Even across tread | Cupping, inner-edge wear, cords showing |
| Glass/lights | Dry, clear lenses, no cracks | Moisture in lenses, long windshield cracks |
Under the Hood: Fluids and Hardware
Fluids tell the story
Check fluids with the engine off and parked level (except transmissions that require the engine running; follow the manufacturer’s procedure). Use caution around a hot engine, and never open a pressurized coolant cap when hot. Wipe dipsticks on a white paper towel to spot contamination.
| Fluid | Healthy Appearance | Warning Signs |
|---|---|---|
| Engine oil | Amber to dark brown, smooth | Milky/foamy (coolant), metallic sparkle (wear), burnt smell |
| Automatic transmission fluid | Pink to light red, clean, not burnt | Dark brown/black, burnt odor, glitter |
| Coolant | Green/orange/pink, clear, correct level | Rusty, oily film, sludge, low with dried residue nearby |
| Brake fluid | Light to medium amber, dry cap area | Very dark, wet around master cylinder, low level |
| Power steering (if equipped) | Clean, correct color per spec | Foamy, low, or wet hoses/pump |
Belts, hoses, filters, and battery
Belts should be free of cracks, glazing, or fraying; chirps or squeals suggest slippage or misalignment. Hoses should feel firm, not rock-hard or mushy; look for swelling at clamps and dried coolant trails. Check the engine air filter for excessive dirt or oil, and inspect intake ducts for cracks or loose clamps. The battery should have secure hold-downs and clean terminals. Check the date label—over four to five years old is nearing end of life in many climates. With a multimeter, 12.6V at rest is fully charged; running voltage should read about 13.7–14.7V, indicating a healthy charging system.
Leaks, mounts, and general condition
Look for oil wetness on the valve cover, timing cover, oil pan, transmission case, and around axle seals. Dried coolant crust (white/green) under the radiator, water pump, or hose connections signals leaks. Examine engine and transmission mounts; visible tearing or excessive movement when you blip the throttle points to failure. Scorched insulation, melted connectors, or improvised wiring are serious concerns—especially around the battery, alternator, fans, and aftermarket accessories.
Underbody and Suspension
Frame, structure, and rust
Without lifting the car, use your flashlight and mirror to inspect pinch welds, subframes, control-arm mounts, and the spare-tire well. Fresh, thick undercoating can hide damage; look for overspray on exhaust or rubber bushings. Structural rust—scaly, flaky metal on frame rails, rocker reinforcements, or suspension pick-up points—is far more serious than light surface rust on brackets. Silt, mud lines, or corrosion on seat rails and under-dash brackets suggest past flooding. Inspect exhaust hangers and heat shields for looseness or missing hardware.
Steering, axles, and brakes
Examine CV joint boots for tears and sling-out grease. Look for damp struts/shocks, cracked or collapsed bushings, and broken springs. Brake rotors should be smooth without deep grooves; a pronounced outer lip hints at thin rotors. Peek at pad thickness through calipers—roughly 3 mm or less means pads are nearly due. Check flexible brake hoses for cracks. With the car parked, turn the steering wheel lock-to-lock to check for power steering groans or binding. If it’s AWD, listen for tire scrub or hopping in tight turns, which can indicate drivetrain binding.
Interior and Electronics
Cabin condition and safety systems
Open all doors and sniff for mold, stale smoke, or heavy air freshener that may mask odors. Lift floor mats and check for damp carpet or rust on seat mounts. Excessive seat, steering wheel, or pedal wear with low miles raises odometer concerns. Inspect the headliner for stains and sagging. On startup, the airbag/SRS light should illuminate briefly and then go out; if it stays on—or never lights—there’s a fault or tampering. Ensure seatbelts latch, retract, and lock under a sharp tug.
Switches, infotainment, and HVAC
Test every window, lock, mirror, sunroof, and seat adjustment. Verify the instrument cluster, backlighting, and all warning lamps. Pair your phone with the infotainment, check the microphone, speakers, backup camera, and parking sensors. Run the A/C at max cold; you should feel distinctly cold air within a minute, with the compressor engaging smoothly. Switch to heat and verify the blend doors and mode doors change temperature and direction without clicking. A sweet coolant smell inside can hint at a leaking heater core.
Odometer, VIN tags, and keys
Ensure the odometer matches the listing and the history report. Verify the VIN on the dashboard, driver’s door jamb, and any body labels all match the title. Confirm all keys and fobs are included and functional; replacing modern smart keys can cost hundreds of dollars. If the car has remote start or aftermarket alarms, test them thoroughly and verify they don’t trigger warning lights.
The Test Drive: What to Watch and Listen For
Start the car cold
Ask the seller not to pre-warm the car. A true cold start reveals hard starting, rattles from timing chains, noisy lifters, misfires, and exhaust leaks. Idle should settle smoothly within a minute. Watch the tailpipe: brief white vapor on a cold morning is normal; constant thick white smoke indicates coolant burning, blue smoke means oil burning, and black smoke suggests a rich mixture. After the drive, recheck for fresh leaks under the car.
Acceleration and shifting
Drive a mix of city streets and highways. An automatic should shift smoothly without flares (rising RPM without speed increase) or harsh bangs. A CVT should be seamless without shudder at low speeds. In a manual, the clutch should engage consistently; test for slipping by cruising at ~30 mph in a higher gear, then flooring the throttle—if RPM jumps without acceleration, the clutch is worn. Check for grinding when shifting briskly into second and third; weak synchros will grind if you rush the shift. Verify all drive modes (Eco/Sport) and cruise control work as intended.
Steering, braking, and ride
On a straight, flat road, the car should track straight with the wheel centered. Vibrations at 50–70 mph point to wheel balance or bent rims; a shudder under acceleration can indicate an axle or mount issue. Under braking, a pulsing pedal suggests warped rotors; a soft pedal or increased stopping distance hints at air in the system or worn pads. Find a quiet lot and make slow, tight circles in both directions—clicking means outer CV joint wear, while groans could be power steering or binding suspension. Over bumps, listen for clunks (loose sway-bar links/bushings) or knocking (worn strut mounts).
Noise diagnosis quick guide
- Wheel bearing: low hum that grows with speed, changes when turning left/right.
- Differential/gear whine: pitch changes with throttle on/off.
- Exhaust leak: ticking near engine, louder under load; fumes in cabin are serious.
- Heat shield rattle: metallic buzz at certain RPMs, often near exhaust.
- Belt or pulley noise: chirp/squeal that varies with engine RPM.
Scan for Codes and Hidden Issues
OBD-II scanning
Plug in your scanner before and after the test drive. Check for stored and pending codes. A recently reset system will show “monitors not ready” for emissions tests—this can hide problems. Even with no check-engine light, pending misfire, EVAP, O2 sensor, or transmission codes can warn of upcoming repairs. Review live data: coolant temperature should rise steadily; long-term fuel trims beyond ±10% suggest vacuum leaks or fueling issues. Note that generic OBD-II typically covers engine and transmission; ABS, airbag/SRS, and body modules may require an advanced scanner.
Paperwork, Pricing, and Next Steps
Title status and records
Verify the seller’s name matches the title and that there’s no active lien, or secure a formal lien release. Compare VINs on the dash, door jamb, and engine bay labels. Review service records for major maintenance such as timing belt/water pump (if applicable), spark plugs, transmission fluid, brake fluid, coolant, and differential/transfer case services. In emissions regions, confirm the car can pass a smog test—readiness monitors must be set. Check for open recalls and service campaigns and plan to address them.
Independent pre-purchase inspection (PPI)
Even if you’re mechanically savvy, pay for a PPI from an independent shop familiar with the make. Expect $100–$250 for a comprehensive check, including a lift inspection, brake and suspension measurements, leak detection, and a road test. For performance, turbocharged, or high-mileage cars, ask about compression and leak-down testing. For hybrids/EVs, request a high-voltage battery health assessment. If a seller refuses a reasonable PPI, walk away.
Pricing and negotiating
Research fair value using multiple sources and comparable local listings. Bring printed estimates for needed repairs and factor them into your offer. Be polite but firm, and be prepared to walk if the numbers don’t work. Once agreed, complete a detailed bill of sale, verify ID, keep copies of everything, and call your insurer before driving off. For private sales, use secure payment (a cashier’s check at the seller’s bank or a safe escrow solution) and meet at a public location—or at the bank—to finalize the transaction.
Common Red Flags That Should Stop the Deal
- Title brand (salvage, rebuilt, flood) not disclosed by the seller.
- Mismatched or tampered VIN plates or missing emissions labels.
- Persistent coolant/oil mixing, overheating, or thick white/blue exhaust smoke.
- Transmission slipping, harsh banging shifts, or delayed engagement.
- Severe rust on structural components, especially near suspension mounts.
- Airbag/SRS light on, or ABS/traction lights that won’t reset.
- Seller refuses a PPI, won’t allow a cold start, or pushes for a rushed sale.
Quick Reference: What’s Acceptable vs. What Costs Real Money
Budgeting correctly helps shape a smart offer. Minor flaws—small dings, a single fogged headlight, scuffed bumper covers, a tired battery, worn wiper blades—are inexpensive. Big-ticket items usually include:
- A full set of tires (often four figures for larger sizes or performance models).
- Timing belt and water pump service (on belt-driven engines).
- Brakes all around (rotors, pads, possible caliper or hardware replacement).
- Suspension refresh (shocks/struts, bushings, control arms).
- Transmission or clutch repairs, and steering rack replacements.
Use your used car inspection checklist to estimate a realistic first-year maintenance budget and negotiate accordingly.
Frequently Asked Questions
How long should a thorough used car inspection take?
Plan 60–90 minutes before the test drive and another 20–30 minutes driving a mix of roads. Add time for scanning codes and reviewing paperwork. A rushed 10-minute look misses issues that can cost thousands later.
Do I really need an OBD-II scanner?
It’s not mandatory, but it’s one of the best low-cost tools you can bring. A scan reveals stored and pending trouble codes and readiness monitors that the dashboard won’t show. Even a basic Bluetooth adapter paired with a phone app is enough for most checks.
How can I spot flood damage?
Trust your senses and your flashlight. Look for musty odors, water lines in the trunk or engine bay, silt under carpets, rust on seat tracks and door hinges, corrosion on connectors (especially under seats), and mismatched interior trim. Confirm with a history report, but rely on a careful interior and under-dash inspection.
What mileage is too high for a used car?
Mileage matters, but condition and maintenance matter more. A highway-driven car with documented service at 150,000 miles can be a safer buy than a neglected 70,000-mile car. Prioritize records for timing belts, transmission service, fluids, and major wear items, and adjust your offer for upcoming maintenance.
Should I buy a car with a salvage or rebuilt title?
Expect much lower resale value, higher insurance hurdles, and potential hidden damage. If you consider it, insist on full documentation of repairs and get a meticulous PPI with frame measurements. For most buyers, a clean-title car is the safer choice.
How important is a pre-purchase inspection if I already checked the car?
Very important. A shop with a lift can spot underbody, brake, and suspension problems you can’t see on the ground, and they can measure wear precisely. A PPI often pays for itself by identifying repairs you can negotiate—or avoid.
What minor issues are acceptable and not deal-breakers?
Cosmetic scuffs, a single curb-rashed wheel, faded headlight lenses, an older battery, or worn wipers are normal used-car wear. Note them for negotiation, but don’t let small items distract you from major concerns like structural rust, engine/transmission faults, or airbag warnings.